
-
Explainer Video
-
Configuring Default Preferences
-
Source Media and Driving Data
-
Step 1: Checking your Workspace & Creating a Project
-
Step 2: Creating a Shot
-
Step 3: Source and Driving Data Creation
-
Step 4: Creating Your Vub
Explainer Video
Configuring Default Preferences
You can access the Preferences in the Avid Extension by selecting the 'sandwich' icon in the top right-hand corner of the extension panel.
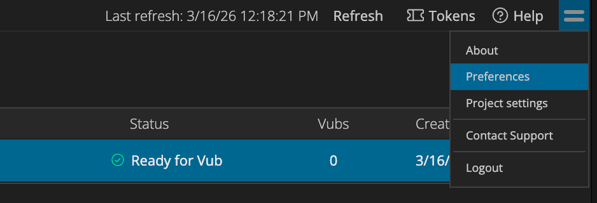
Within the Preferences page, you can configure three options:
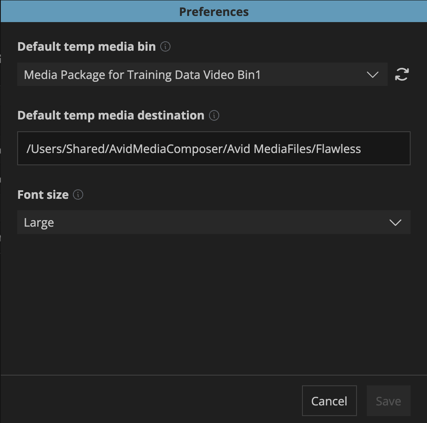
- Default temp media bin
- From the dropdown menu, select the Avid bin you’d like DeepEditor to use when linking temporary media created during the Load from the timeline process, as described in Step 3 below.
Important:
- The bin must remain open while using the DeepEditor
- If the bin is renamed, open Preferences and click the refresh icon next to the Temp media bin dropdown to ensure the updated bin name is recognized.
- Default temp media destination
- This is the folder where DeepEditor will store temporary media files generated during the Load from the timeline process, as described in Step 3 below.
- To customize this location, type your preferred directory path directly into the field.
Important:
-
A file browser is not currently available for this setting. Make sure the directory you enter already exists and that you have read-write access to it.
-
Font Size
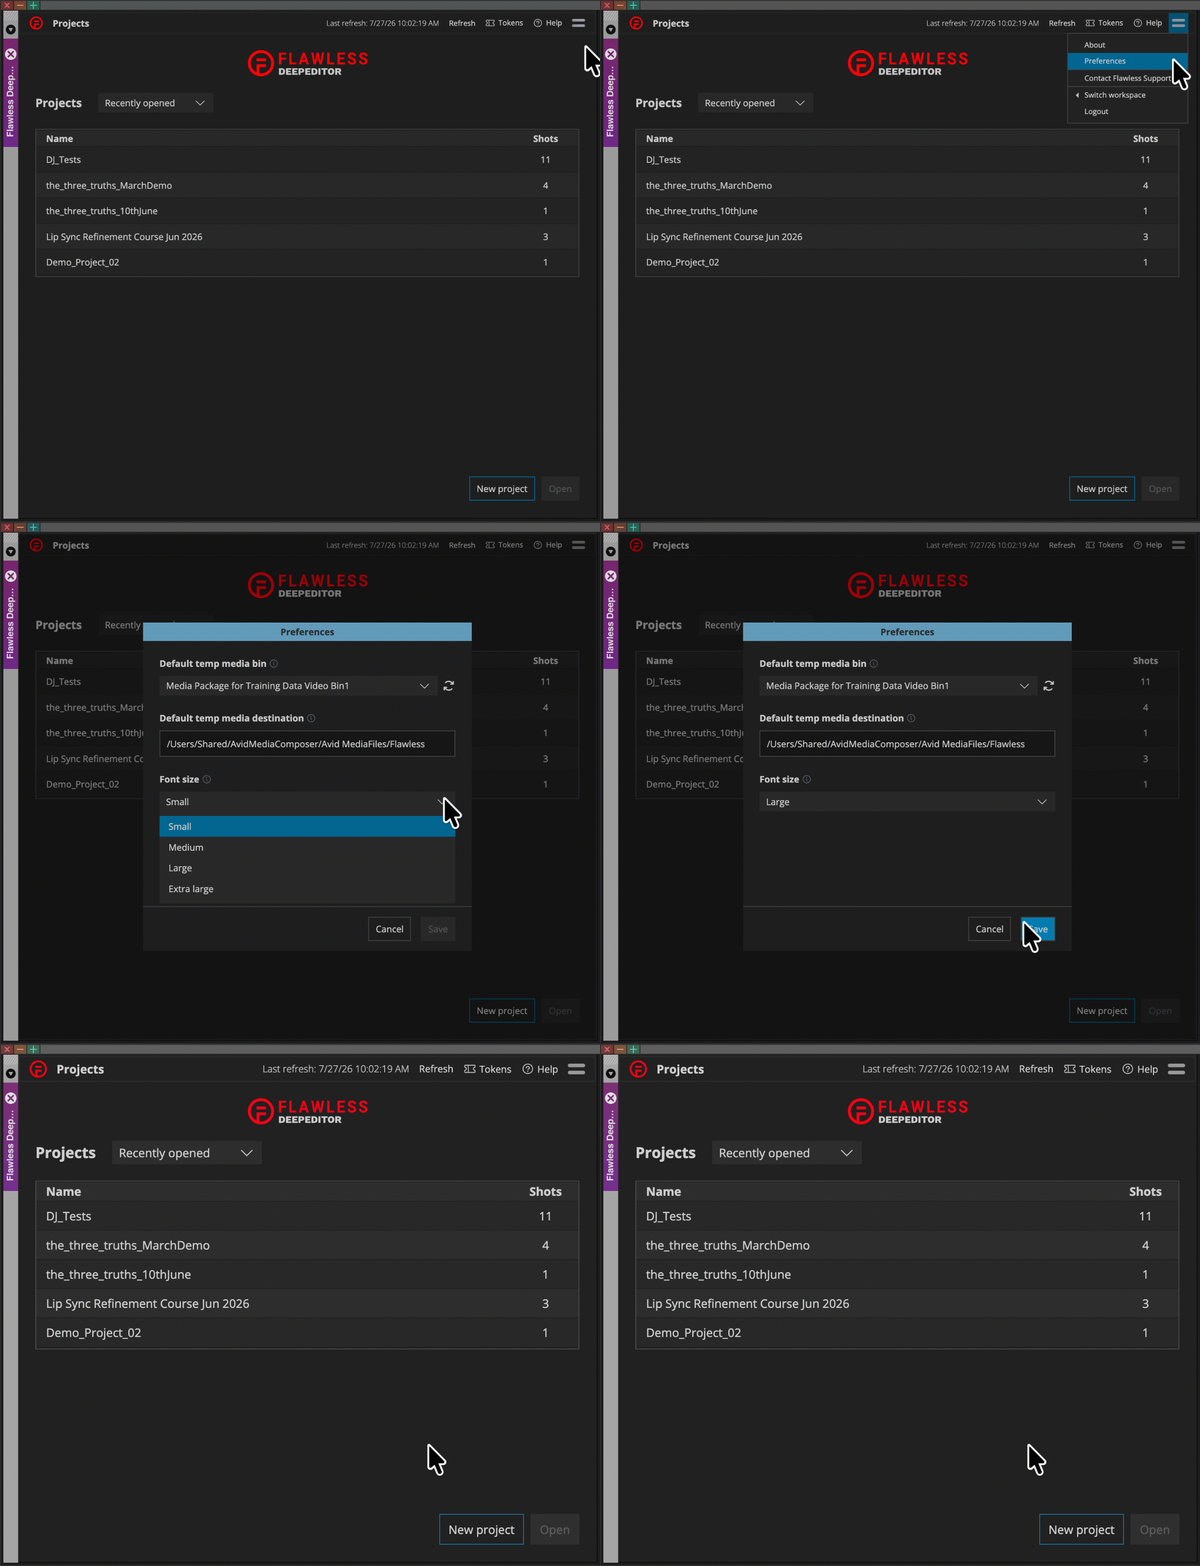
- You can change the UI font size to Small, Medium, Large, or Extra Large. Note that everything else within the extension will scale together with the font (text, icons, and buttons).
Source Media and Driving Data
Before creating your first vub, it’s important to understand shots, vubs and the two main assets used in DeepEditor’s visual dubbing (vubbing) workflow - see Introduction to Vub Creation for details.
DeepEditor is designed to work on a single shot basis; the elements needed to vub a shot are:
- Source media - your original shot containing the actor’s performance you wish to adjust. See here to understand what makes good Source media.
- Driving Data - the new dialogue or performance you want to apply to the actor in the Source media. See here to understand what makes good Driving Data.
- Training Data is only needed in certain scenarios and is not supported in the DeepEditor Extension - you would have to use the web app if this was desired. See the Training Data article to understand when Training Data can be useful.
The placement of the Driving Data relative to the Source media should take into consideration the actor’s physicality and how it aligns with the new dialogue. Align your Source media and Driving Data in your timeline to be ready for vubbing. See Making Source Media and Driving Data Work Together for guidance.
Step 1: Checking your Workspace and Creating a Project
Before creating a project, check you're in the correct workspace. If you're a member of multiple workspaces, you can switch between them via the menu icon in the top-right corner, under Switch workspace.
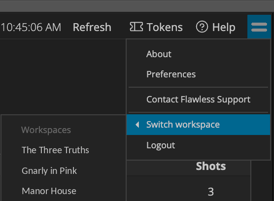
Then, if you are logging into DeepEditor for the first time you will need to create and name a project.
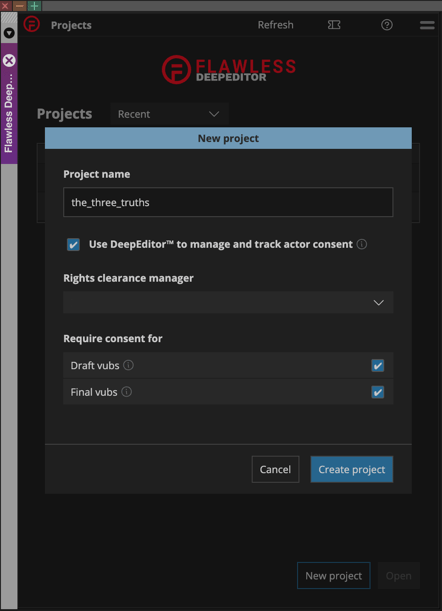
Note on the setting 'Use DeepEditor™️ to manage and track actor consent'
DeepEditor includes built-in artist consent management powered by our Artistic Rights Treasury (A.R.T.) platform. A.R.T. is designed to ensure that, where required, changes made to an artist’s image are properly tracked and consented to, in compliance with industry and union guidelines.
By keeping this box checked, DeepEditor will allow the user to handle the process of securing and recording performer consent directly within the tool.
If your production intends to manage artist consent outside of DeepEditor, you can uncheck this box and fulfil these obligations independently.
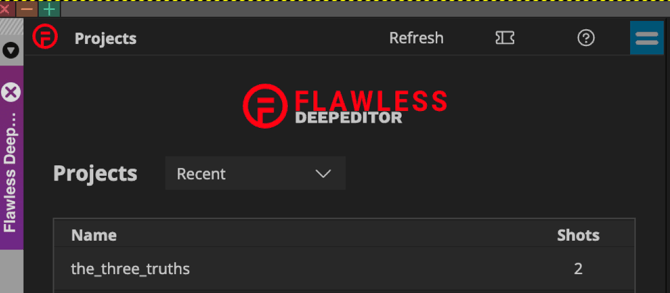
If you’ve already created a project within your workspace, you’ll see your existing projects listed. You can either create a new project or select the one you want to access.
Step 2: Creating a Shot
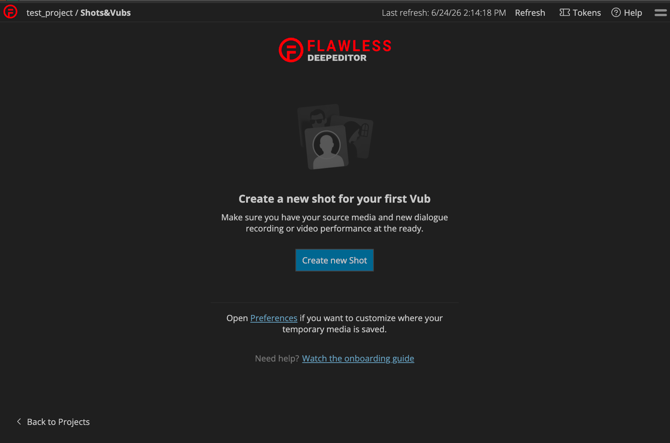
Open your project and you will be able to create a new shot.
If your project is new you will see this:
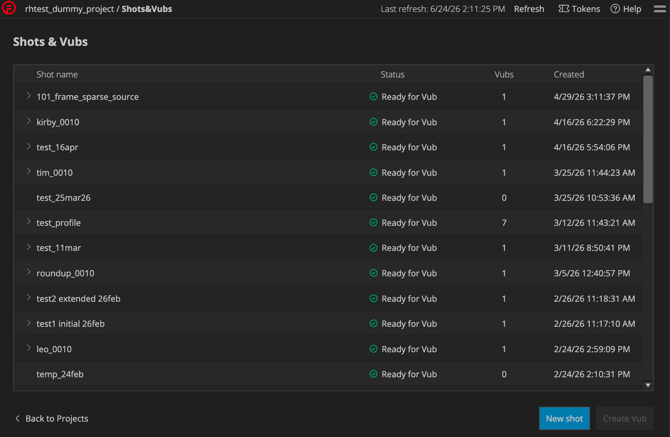
If your project already has shots in it, you can create a new shot using the 'New shot' button in the bottom-right corner:
Selecting to create a new shot will bring you to the 'New shot' screen:
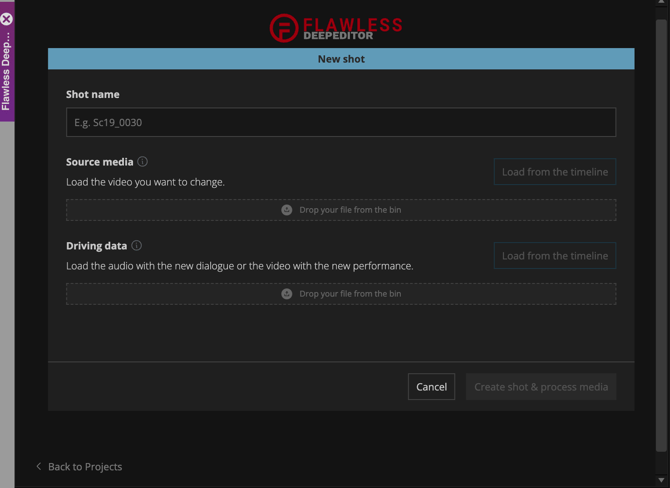
Step 3: Source and Driving Data Creation
The easiest way to load your media into DeepEditor is to load directly from your Avid timeline using the Load from the timeline buttons.
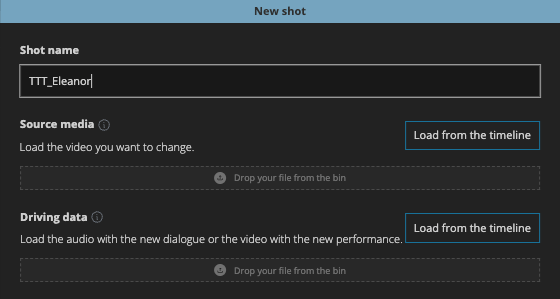
To do this, you can utilize in/out points and track selection to create your assets.
- Load Source media:
- In your timeline, select only the video + audio tracks of the shot containing the original performance you want to adjust (note: selecting audio is optional).
- Set in/out points for the duration of the shot you want to vub. Optionally, add handles if you want some flexibility later in the edit.
- Click Load from the timeline in the Source media section of the DeepEditor Extension.
- Load Driving Data:
-
- In your timeline, deselect the video and audio tracks that contained the Source media.
- Keep the in-out points as they were when you uploaded the Source media.
- If you are using audio only as Driving Data, select only the audio track containing the new dialogue.
- If you are using video as your Driving Data, select both the video + audio tracks containing the new performance. The video will drive the new performance, but you will need the audio to be present if you choose to refine your vub in the web app.
- Click Load from the timeline in the Driving data section of the DeepEditor Extension.
What happens when you load from the timeline
When you select Load from the timeline, the extension will do the following:
- Export the marked in/out media as a MOV file to your Temp media destination. The MOV follows your project's resolution and frame rate; the codec used currently defaults to DNxHR SQ.
- Link the MOV file back into your Temp media bin.
- Load that MOV into DeepEditor.
Tip: Check the linked media in the Temp bin to confirm you've loaded the right shot and the right audio before you go any further.
Note: there is an alternative method you can use to load Source media and Driving Data into the DeepEditor Extension:
- Export your Source media as an MOV
- Export your Driving Data as a WAV or an MOV (depending on whether your Driving Data is audio or video)
- Link the exported clips back into a bin
- Drag and drop the Source media and the Driving Data linked clips into their appropriate section in the extension.
Once your Source media and Driving Data are set up in the extension, click Create shot & process media.
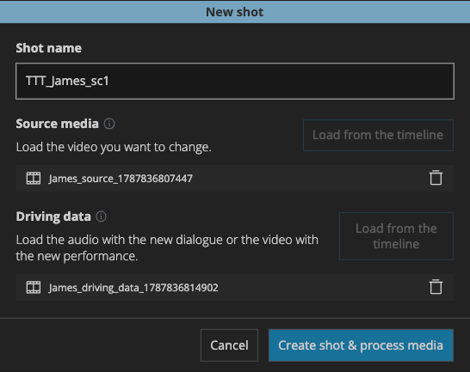
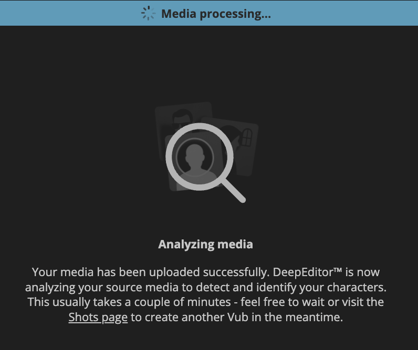
The extension will then upload the media to DeepEditor. When the upload is complete, the video media will be analyzed and all faces will be detected and identified.
Step 4: Creating Your Vub
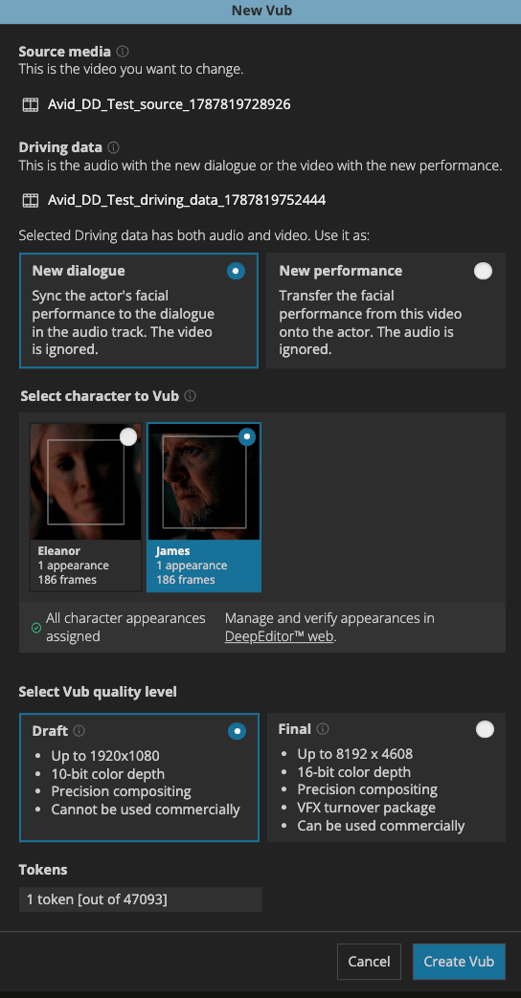
Once your Source media and Driving data are analyzed, click Create Vub to open the New Vub screen, where you can select:
-
Driving Data
-
Note that if you upload a video Driving Data file, you can select whether you want to use the video or audio to drive the performance in the new vub
-
-
Character to vub
-
Vub quality level
Driving Data Options
-
If your Driving Data file contains both audio and video, you will need to select one of the following two options:
- New dialogue - DeepEditor syncs the actor's facial performance in your Source media to the dialogue in the audio track of your Driving Data. The video is ignored. Use this when you want the new dialogue, but want to retain the original emotional performance in the Source media, or when the actor's face in the Driving Data video isn't usable (for example, if it is obscured, breaking frame or poorly lit).
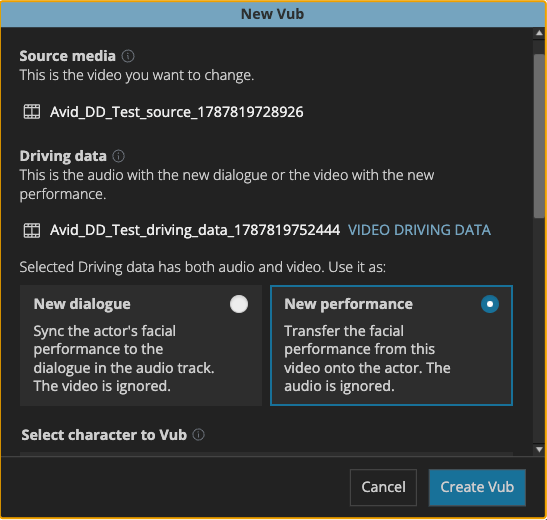
- New performance - DeepEditor transfers the facial performance from the Driving Data video onto the actor in your Source media. The audio is ignored. Use this when you want the performance, as well as the dialogue to come from the Driving Data (for example, when working from an alternate take).
By default, New dialogue is selected, so if you want to drive the new performance using the video, you must actively select New performance.
-
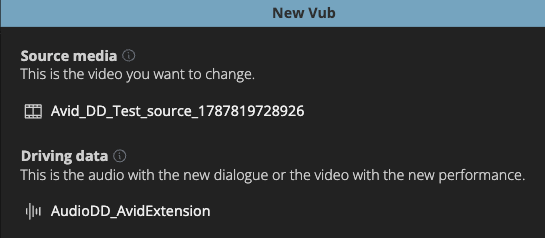
If your Driving Data is an audio file, you will not see any additional options here as the audio will be used automatically to drive the new performance.
- If you have previously created a vub inside the shot and have more than one Driving Data file uploaded, you will be able to choose which Driving Data file you wish to use.
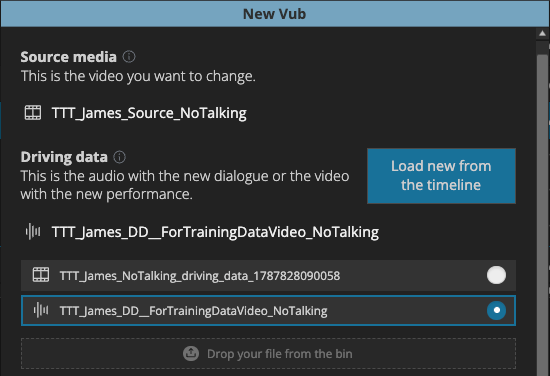
See Avid Extension: Using Multiple Driving Data files for more information.
Select Character to Vub
You’ll see thumbnails of all detected faces labeled (e.g. Character 1, Character 2). You must select which character you wish to vub.
Note: Only one character can be selected per vub. If you wish to vub multiple characters in a single shot, vub them separately then you will need to combine the two vubs together in the web app. See Exporting a Shot with Multiple Vubbed Characters.
If, during the face identification stage, one or more characters were unable to be identified, you will be notified in this window that there are unassigned appearances:
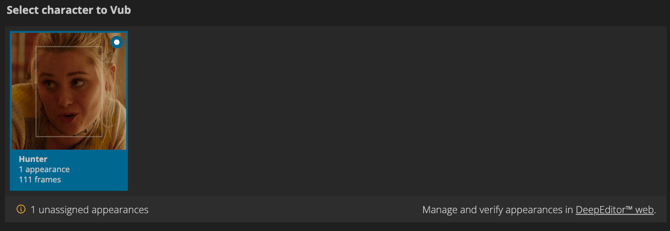
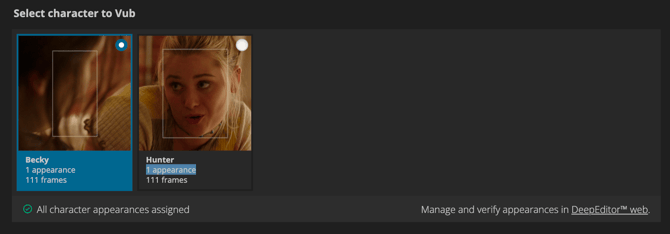
When this happens, it is important to check these unassigned appearances. If they are instances of the character you want to vub, their identity needs to be assigned. Use the link in the bottom right of the character section to navigate to the web app Characters tab for your shot and validate the character appearances - see here for guidance.
If you do make updates to the character appearances in the web app, these will be reflected straight away in the DeepEditor Extension:
Select Vub Quality Level
The vub quality determines the maximum resolution, maximum bit depth and available file formats of the vub you generate. See DeepEditor Token Types & Pricing for details.
Assuming you are using offline quality media in your Avid timeline, your quality section should almost certainly be Draft. You would only use Final quality if there are certain restriction you wish to overcome, or are mastering using your Avid media.
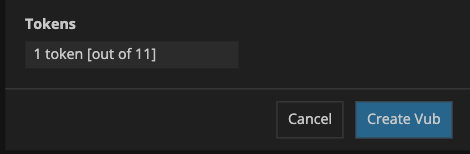
The token cost and your remaining token balance are shown at the bottom of the screen.
Once you have made and checked your selections, click Create Vub.
You will be returned to the list of Shots & Vubs where you can monitor the status of your vub.

Note:
- For a typical shot duration of 125 frames, the expected wait for your vub to ready is approximately 1-1.5 hours.
- You do not have to monitor the vub status if you do not wish to - you will be emailed when it is ready.
- You can continue to create more vubs, or to edit, while the vub is in progress.
Read next: Avid Extension: Downloading Your Vub