How To Create a Vub
Step-by-step guide to generating a vub using the web-app.
Table of Contents
Step 1 - Create a Project
Editing Project Type
Localization Project Type
Step 2 - Upload Media
Step 3 - Create Shot
Step 4 - Add Driving Data and/or Training Data
Step 5- Manage Characters
Step 6 - Generate a Vub
Step 7 - Vub In Progress to Completed
A vub is a visual dub that combines your source media (original shot) with driving data (new performance).
Step 1 - Create a Project
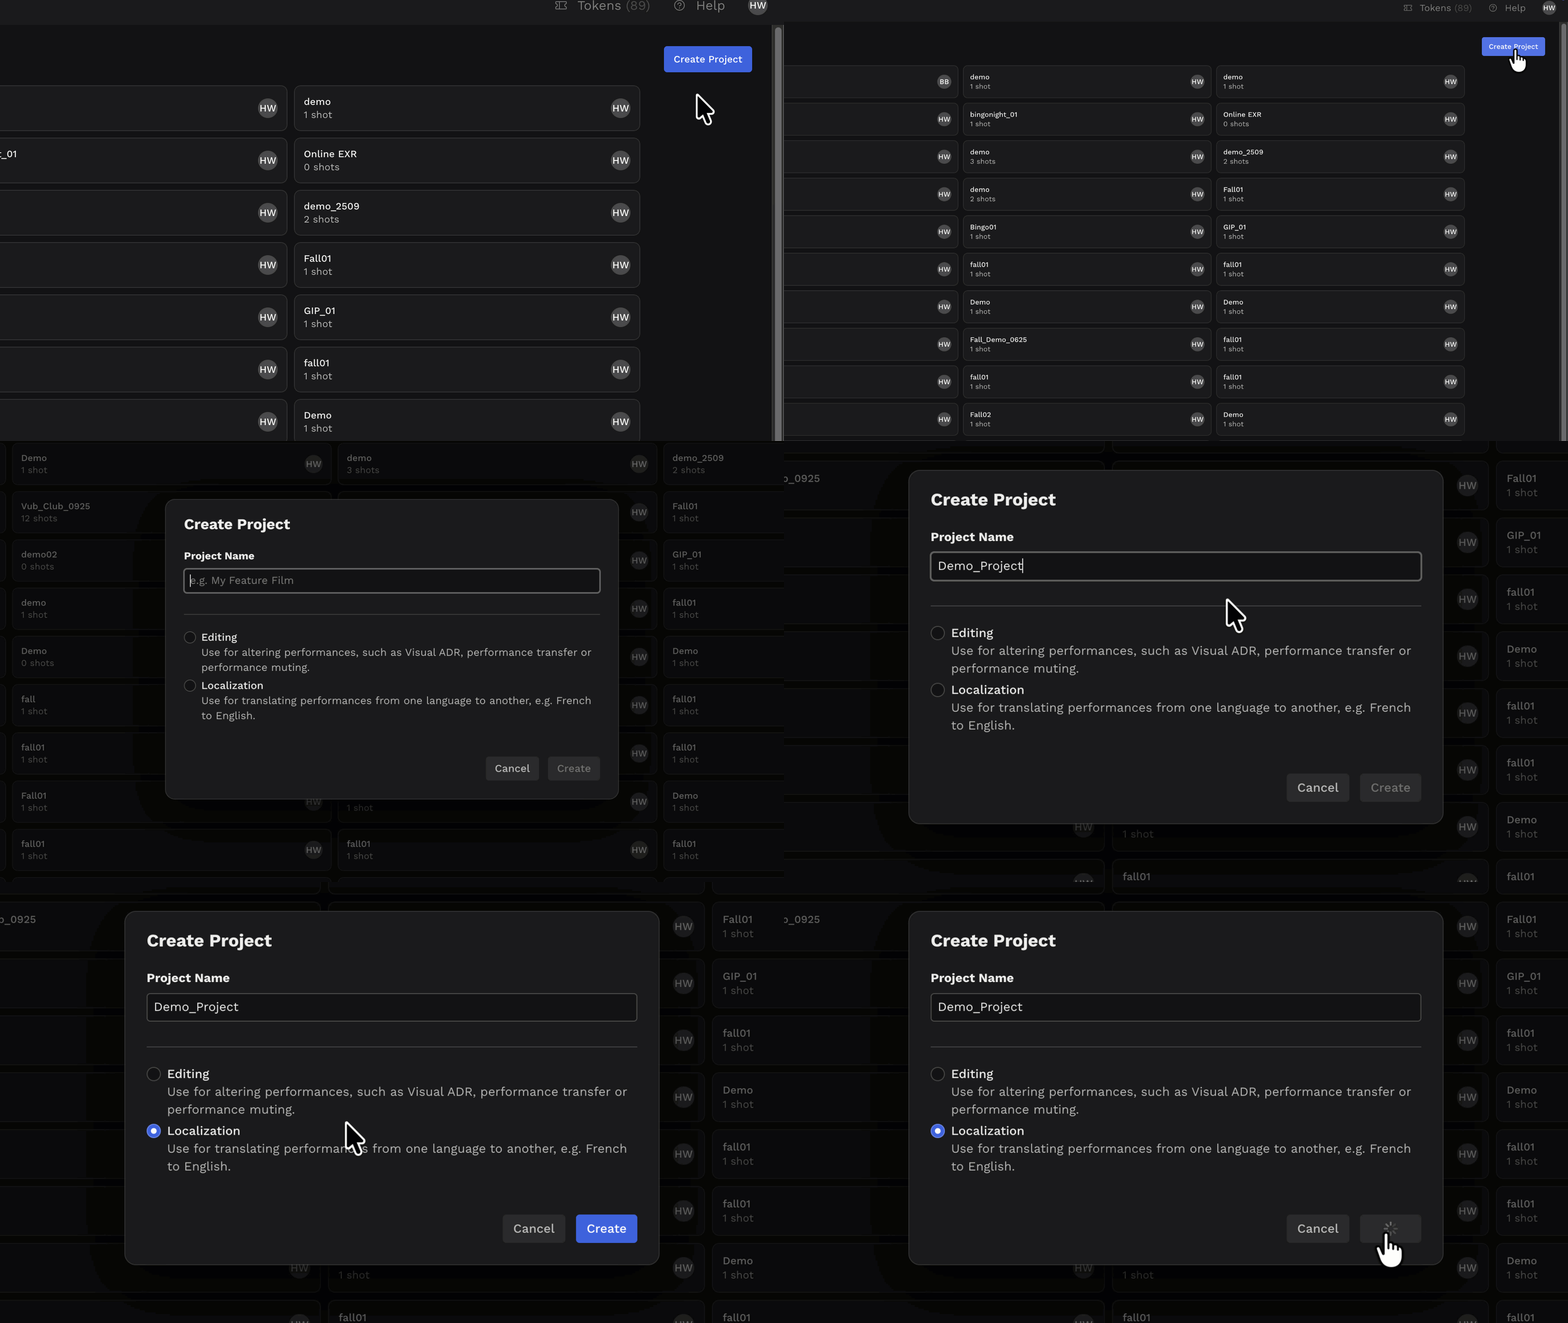
Click Create Project
Name your project (note that currently, a project cannot be renamed once created)
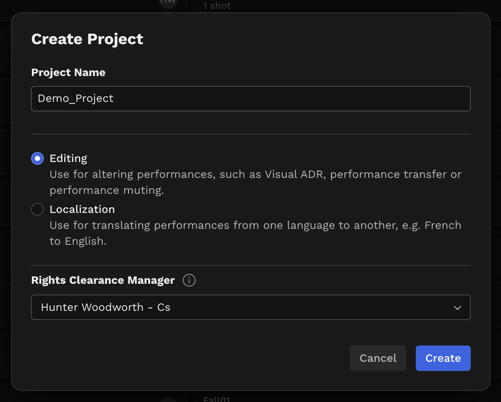
Choose Project Type- If you choose the Editing project type, enter and confirm the e-mail of the Rights Clearance Manager for the project, then click "Create".
- If you choose the Localization project type, click "Create" to proceed.
The choice of project type is related to the Artistic Rights Treasury - DeepEditor's system for managing consent. Read the guidance below about when to choose Editing and when to choose Localization.
Editing Project Type
If your intended use for DeepEditor is to alter performances, select the Editing project type. You will then be prompted to choose your Rights Clearance Manager.
Your Rights Clearance Manager needs their own DeepEditor account within your tenant to appear in the list and manage talent clearance.
Localization Project Type
If your project includes a legal "Dubbing Agreement" or comprehensive consent from the talent (or an authorized representative of their estate or interests) for facial modifications, select the Localization Project Type.
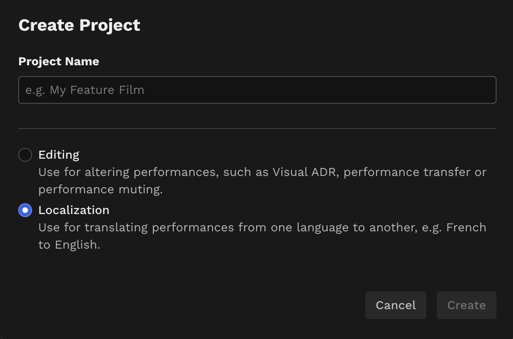
Selecting Localization means you can bypass the Artistic Rights Treasury process.
We trust our customers to act in good faith regarding the legal implications of opting to bypass the Artistic Rights Treasury.
Project Settings
If you are unsure whether an existing project is an Editing or Localization project, click into the project and then the gear, settings icon.
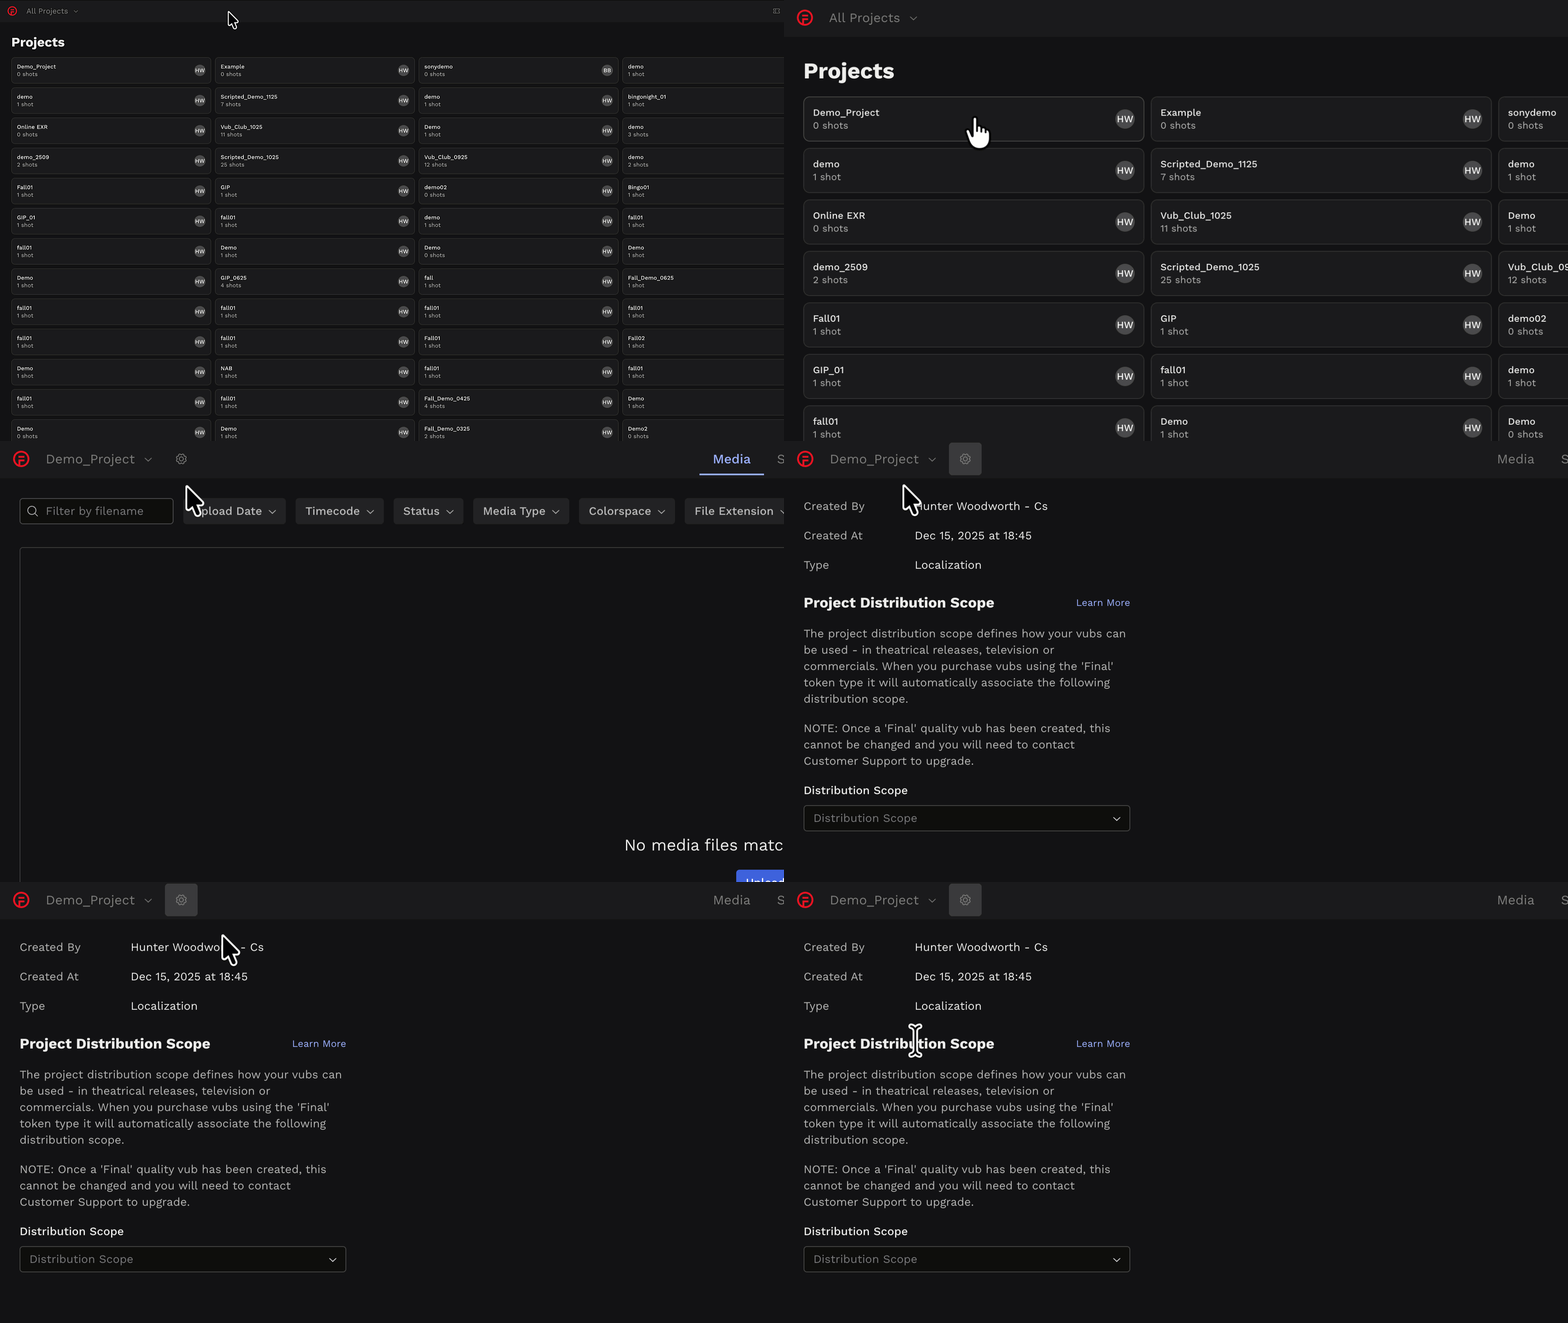
In the Settings tab, you will see:
- Who created the project.
- The date it was created.
- If the project type is editing or localization.
- The Project Distribution Scope.
- Consent Management (if editing project type).
- Roles (if editing project type).
Localization projects do not have an A.R.T. Consent tab.
Step 2 - Upload Media to the Media Library
See Supported Media Formats for details of compatible file types.
Upload any of the following media for your vub:
- Source Media – the original performance you want to visually dub.
- Driving Data – the new performance you want to apply to the source (this can be video or audio).
- Training Data (optional) – additional footage of the same character to help improve image fidelity (lighting and makeup must be consistent).
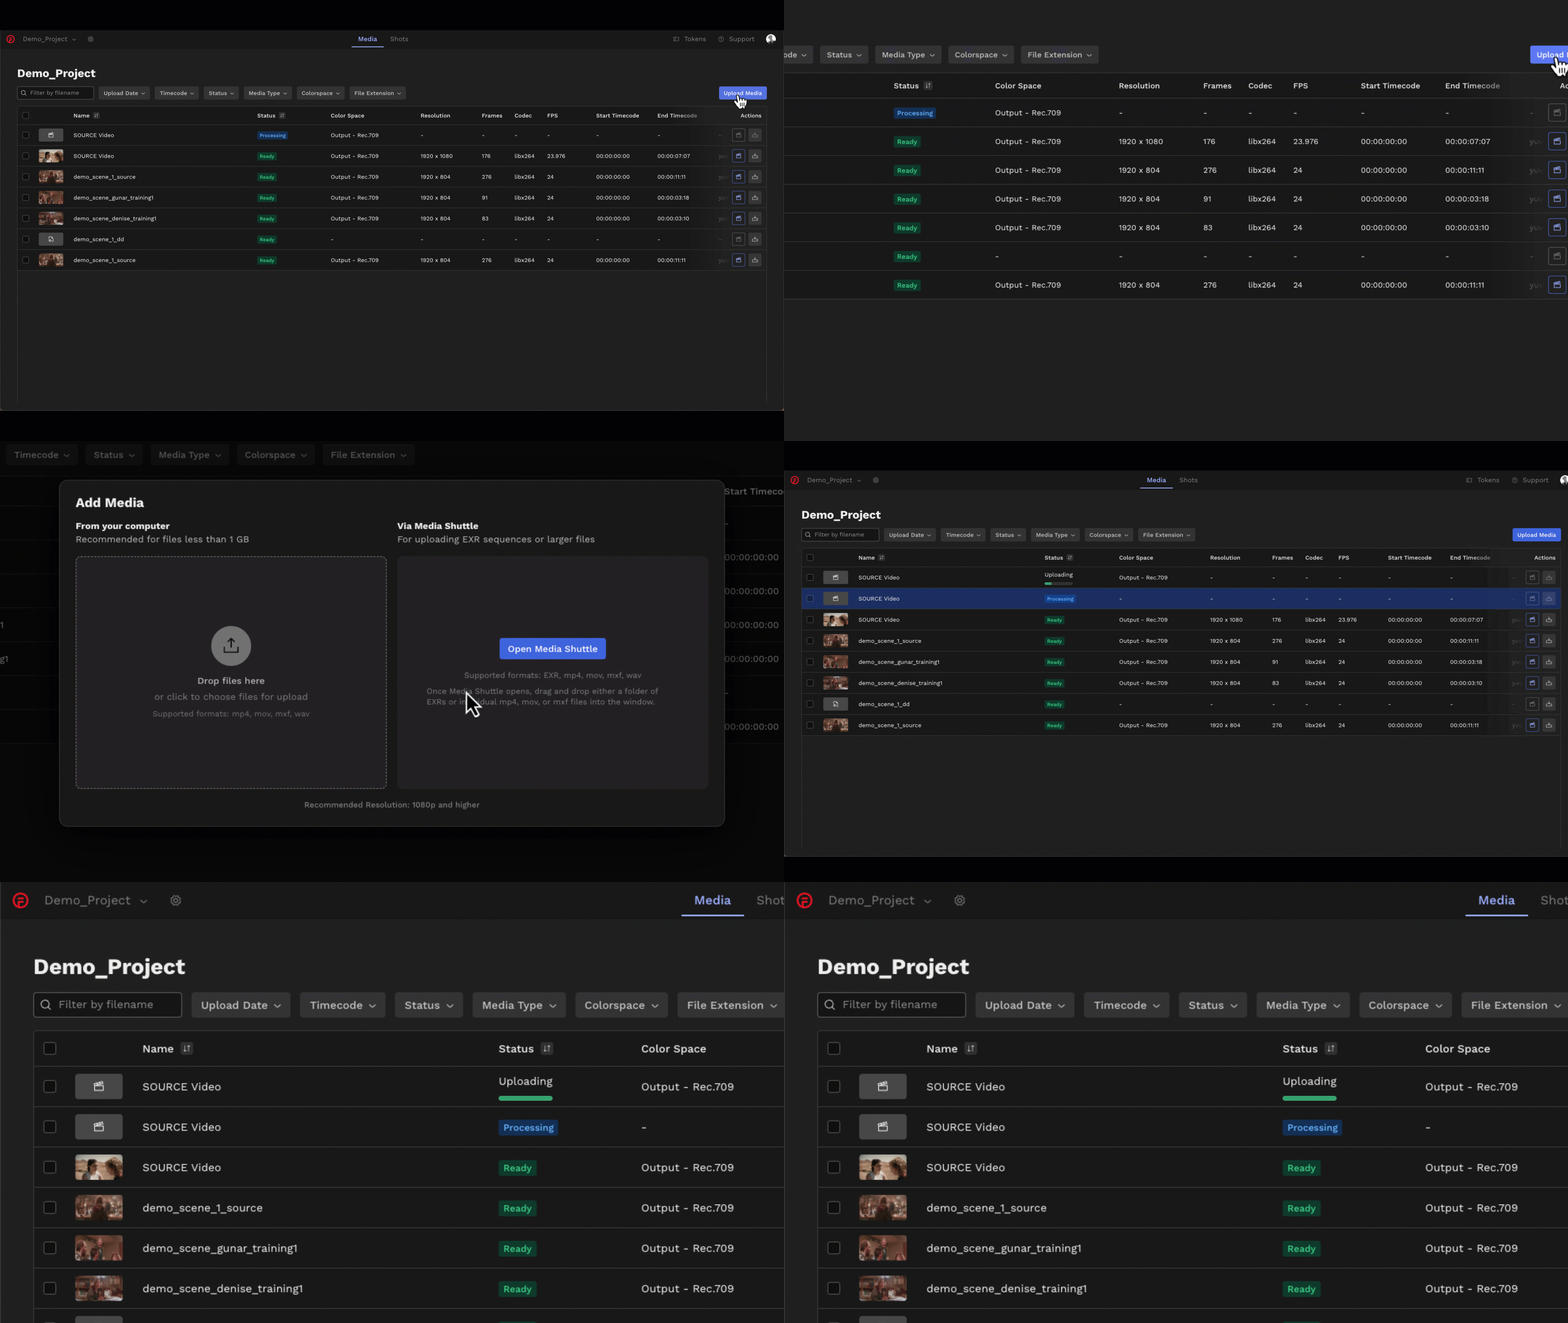
After uploading a video file, you will be prompted to select the color space.
Step 3 - Create Shots
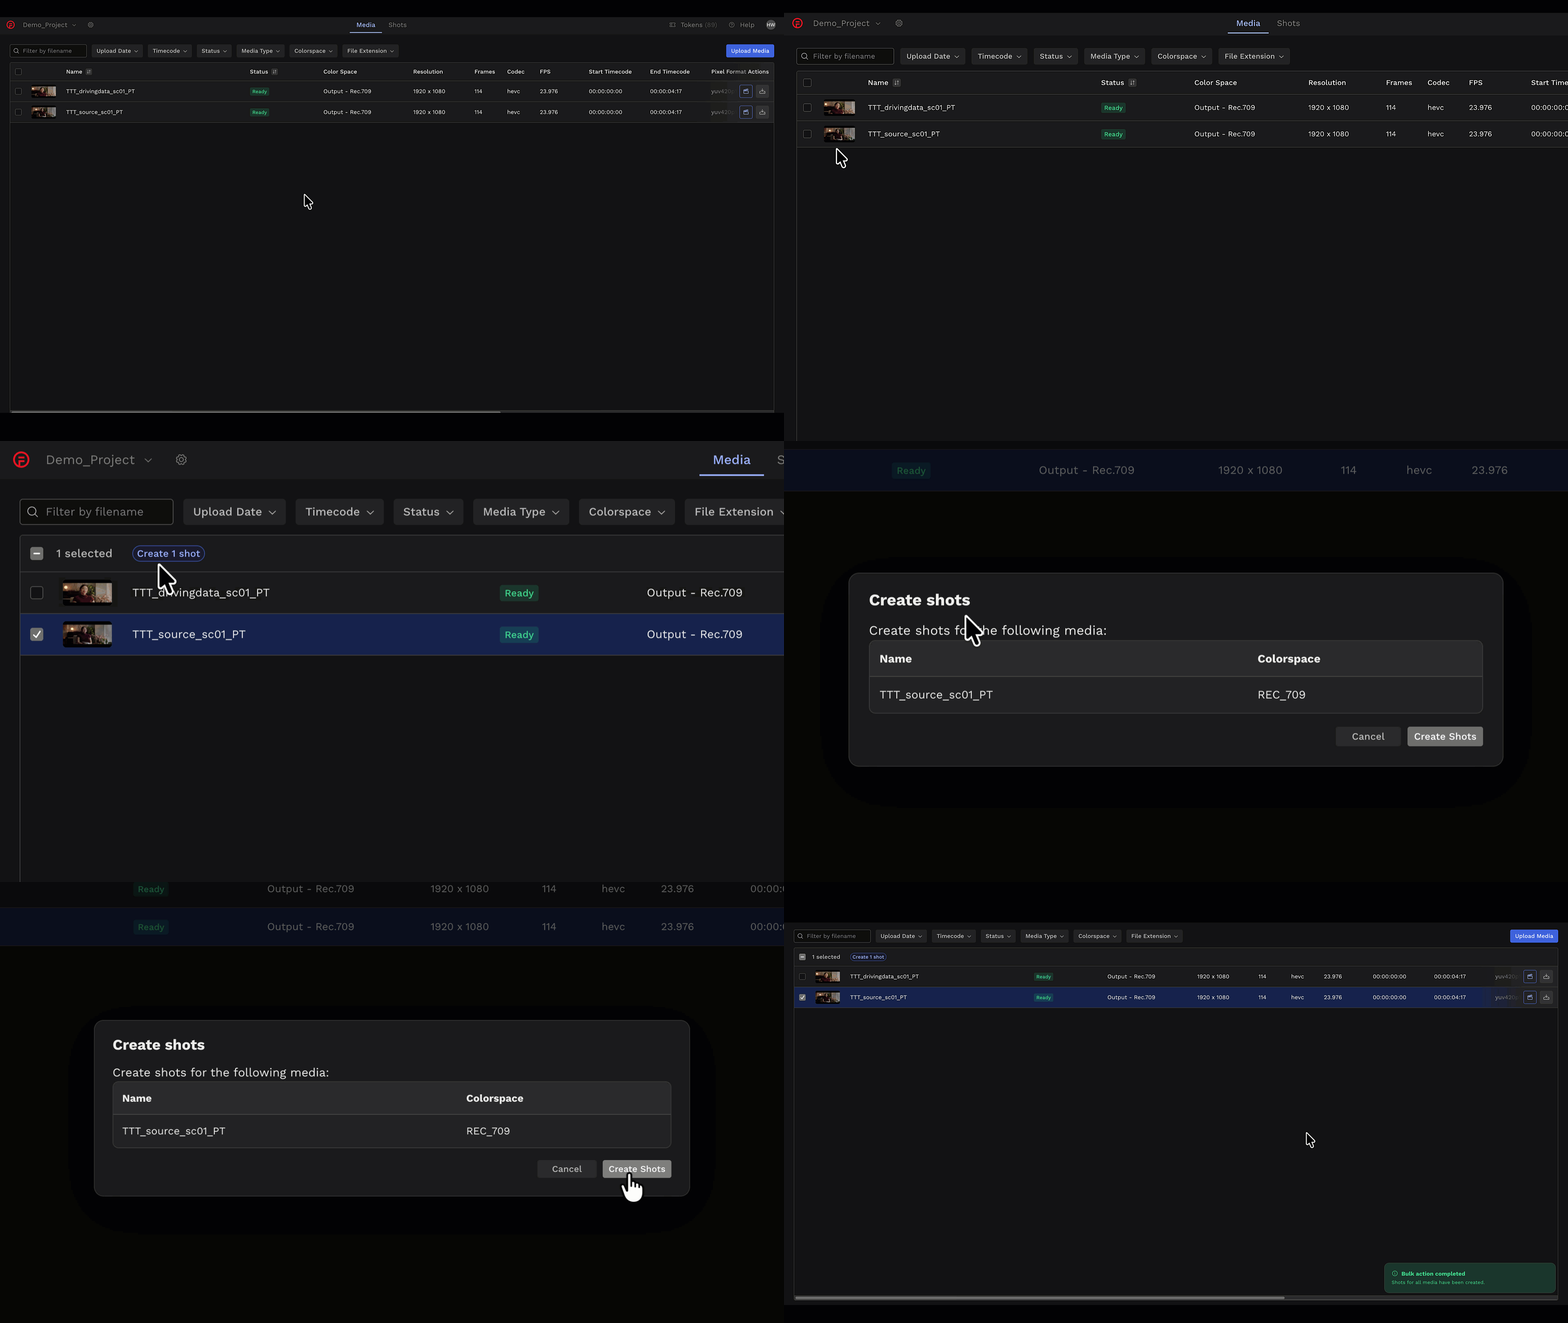
From your Media Library, check any uploaded video clip you want to use as source media and click Create Shot.
-
To create multiple shots at once, select several media items and choose Create Shots. DeepEditor will automatically generate one shot per selected file.
Important: Shot Creation Centers on Source Media
When creating shots, DeepEditor treats each selected video file as a new source.
This means:- For each video file selected, a separate shot will be created.
-
- You should only select the intended source media when creating a shot.
Do not select your source, driving data, and training data together when creating shots. Doing so will create multiple shots, with your driving data/training data files mistakenly used as a source in the separate shots.
Step 4 - Add Driving Data in the Shot Media Tab
Once your shots are created, choose one in the Shots tab.
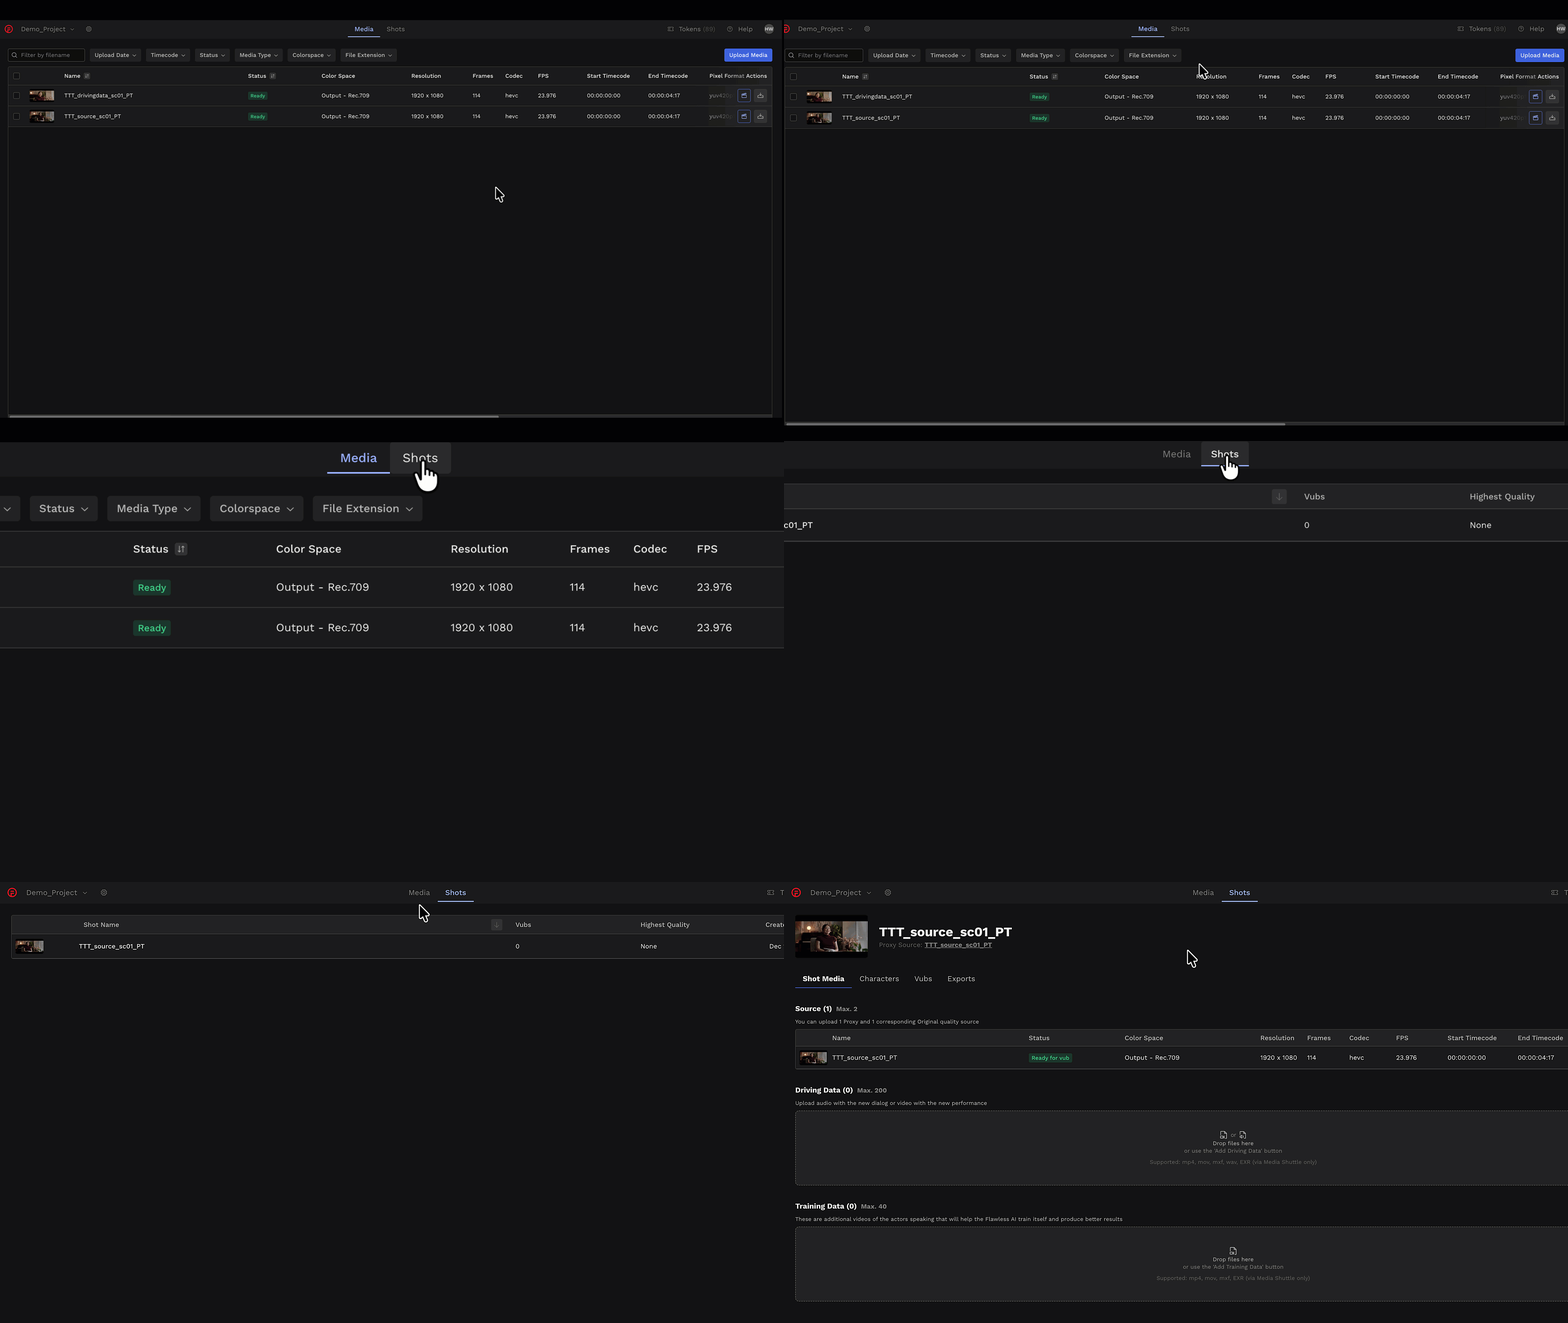
Add Driving Data and Training Data (optional) within the Media interface. You can add these:
- From your library - files already uploaded to the media library
- From your computer - files stored on a local folder
- Via Media Shuttle - larger files on a local folder, like .exr image sequences
When adding 'From your library,' DeepEditor automatically filters the list of available media so that only compatible files appear, ensuring you can only add valid media for that role. For example:
- Audio files won’t appear as valid sources or training data.
- Media with mismatched frame rates or unsupported formats will be filtered out.
When adding new media from your computer or via media shuttle, DeepEditor automatically adds the file to your project’s Media Library. This keeps all your media centralized, organized, and available for future use.
Step 5 - Review and Organize Characters
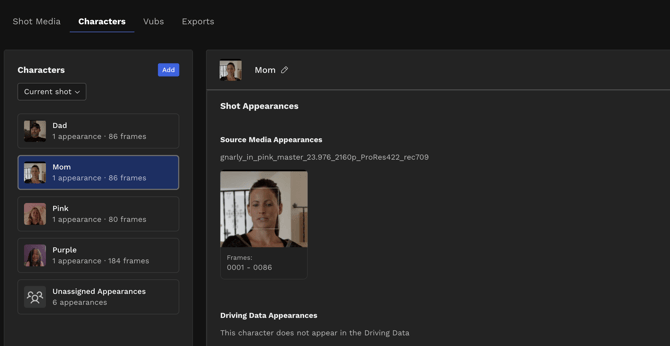
Navigate to the Characters tab, where you can see the characters that have been detected and can review, name, and organize them.
Shot Appearances
When you select a character, you will see the character’s “Shot Appearances” across all video files you uploaded (source media, driving data, training data).
It’s important to review all appearances within each character grouping, as on rare occasions a character may be misidentified or will need to be managed separately.
Read more about How to Manage Characters in DeepEditor.
Identifying Tracking Issues
If DeepEditor has missed frames where the character appears, you will know before running a vub that there will be tracking issues.
In the example below, you can see that we are missing frames 0041 and 0042, so we know the face has not been tracked on those frames, and therefore they cannot be vubbed, unless we fix the tracking issue.
![]()
Read more about Understanding and Resolving Tracking Issues.
Name Characters
To name a character, select the character and change the name in the box above their appearances.
Note: You cannot rename the character in a vub after generating a vub for that character.
Step 6 - Generate a Vub
1. Now that you have completed steps 1 - 5, you can create your vub. Click on the Generate Vub button.
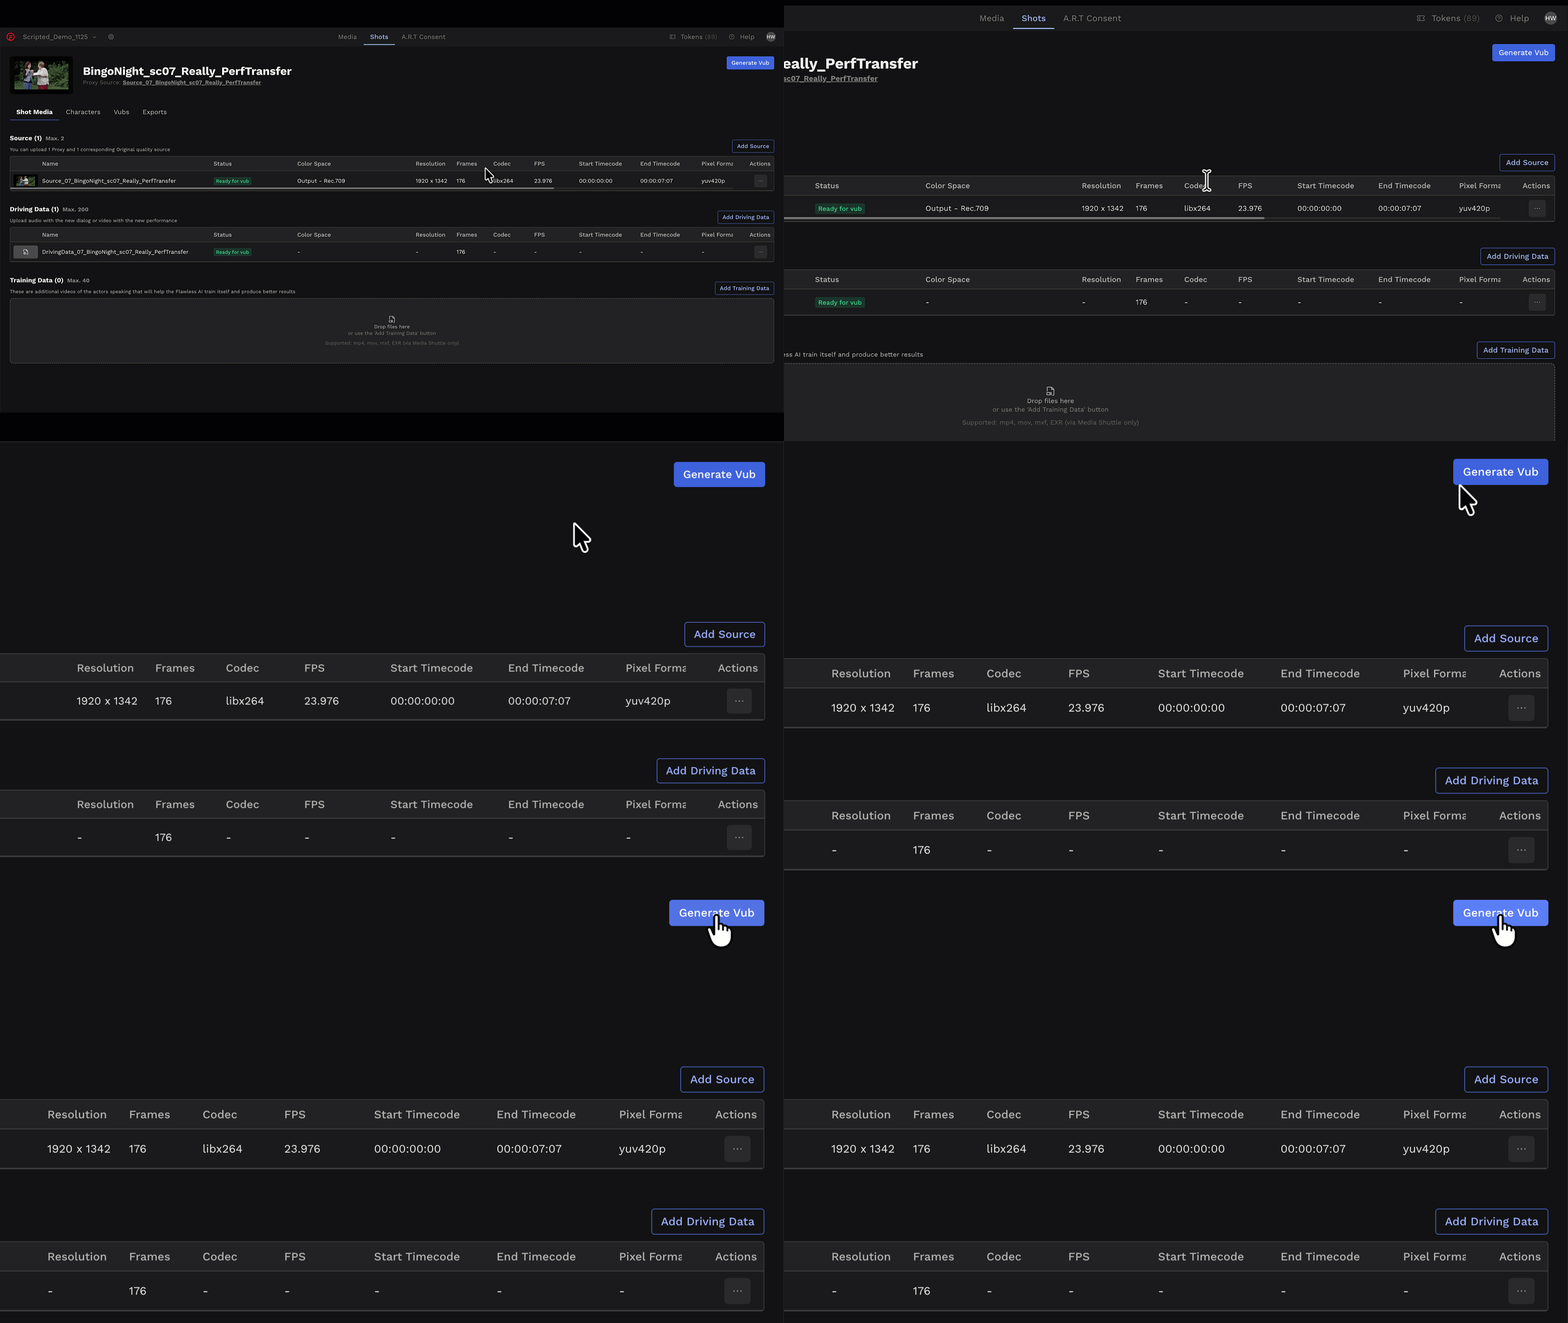
2. Enter Vub Name.
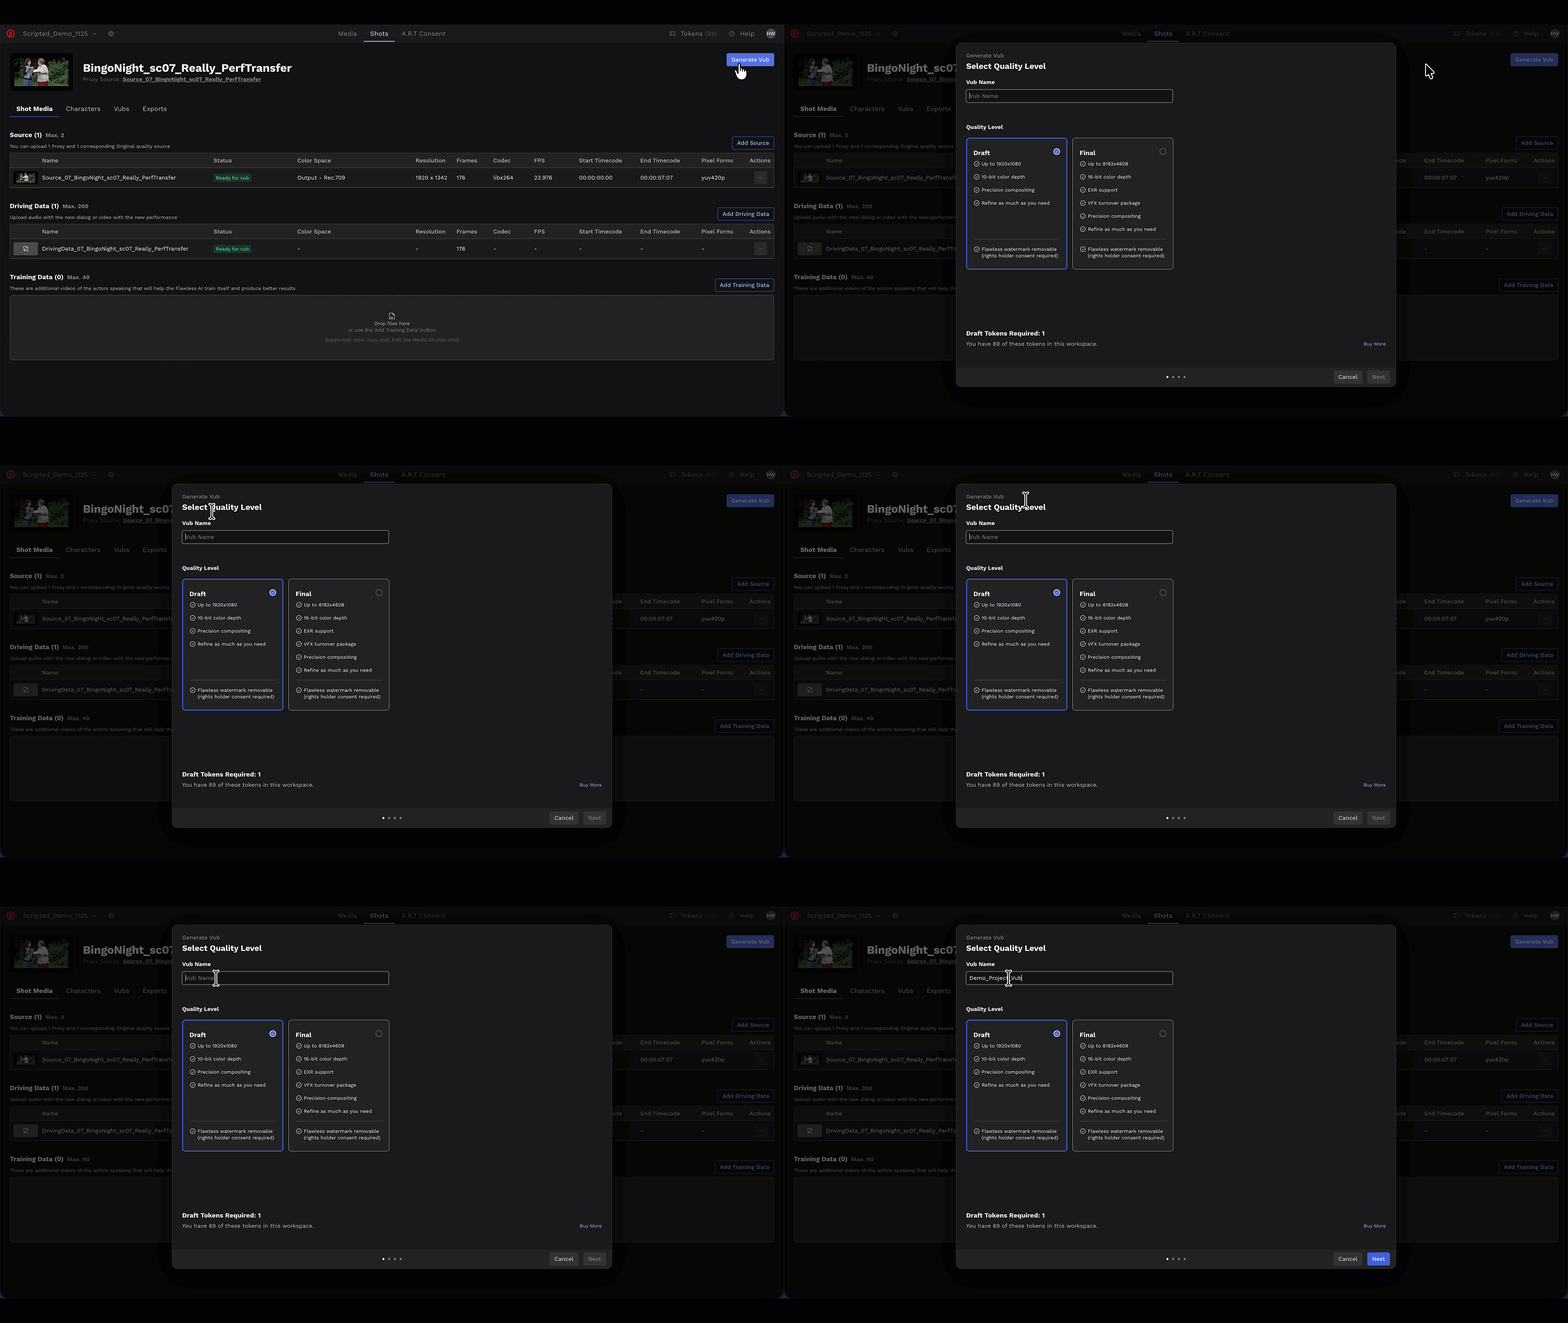
3. Choose the Quality Level based on project stage and distribution.
Read more about DeepEditor Token Types & Distribution-Based Pricing
4. Select the character you want to vub.
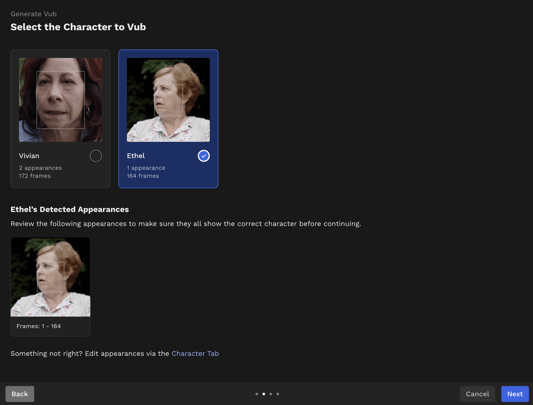
You can only vub one character at a time. If there is more than one character you'd like to vub in a shot, you need to generate separate vubs for each character. Once you have the exports ready for each character, you can use our Face Merge feature to combine them into one export.
6. Select the source media, driving data, and (optional) training data.
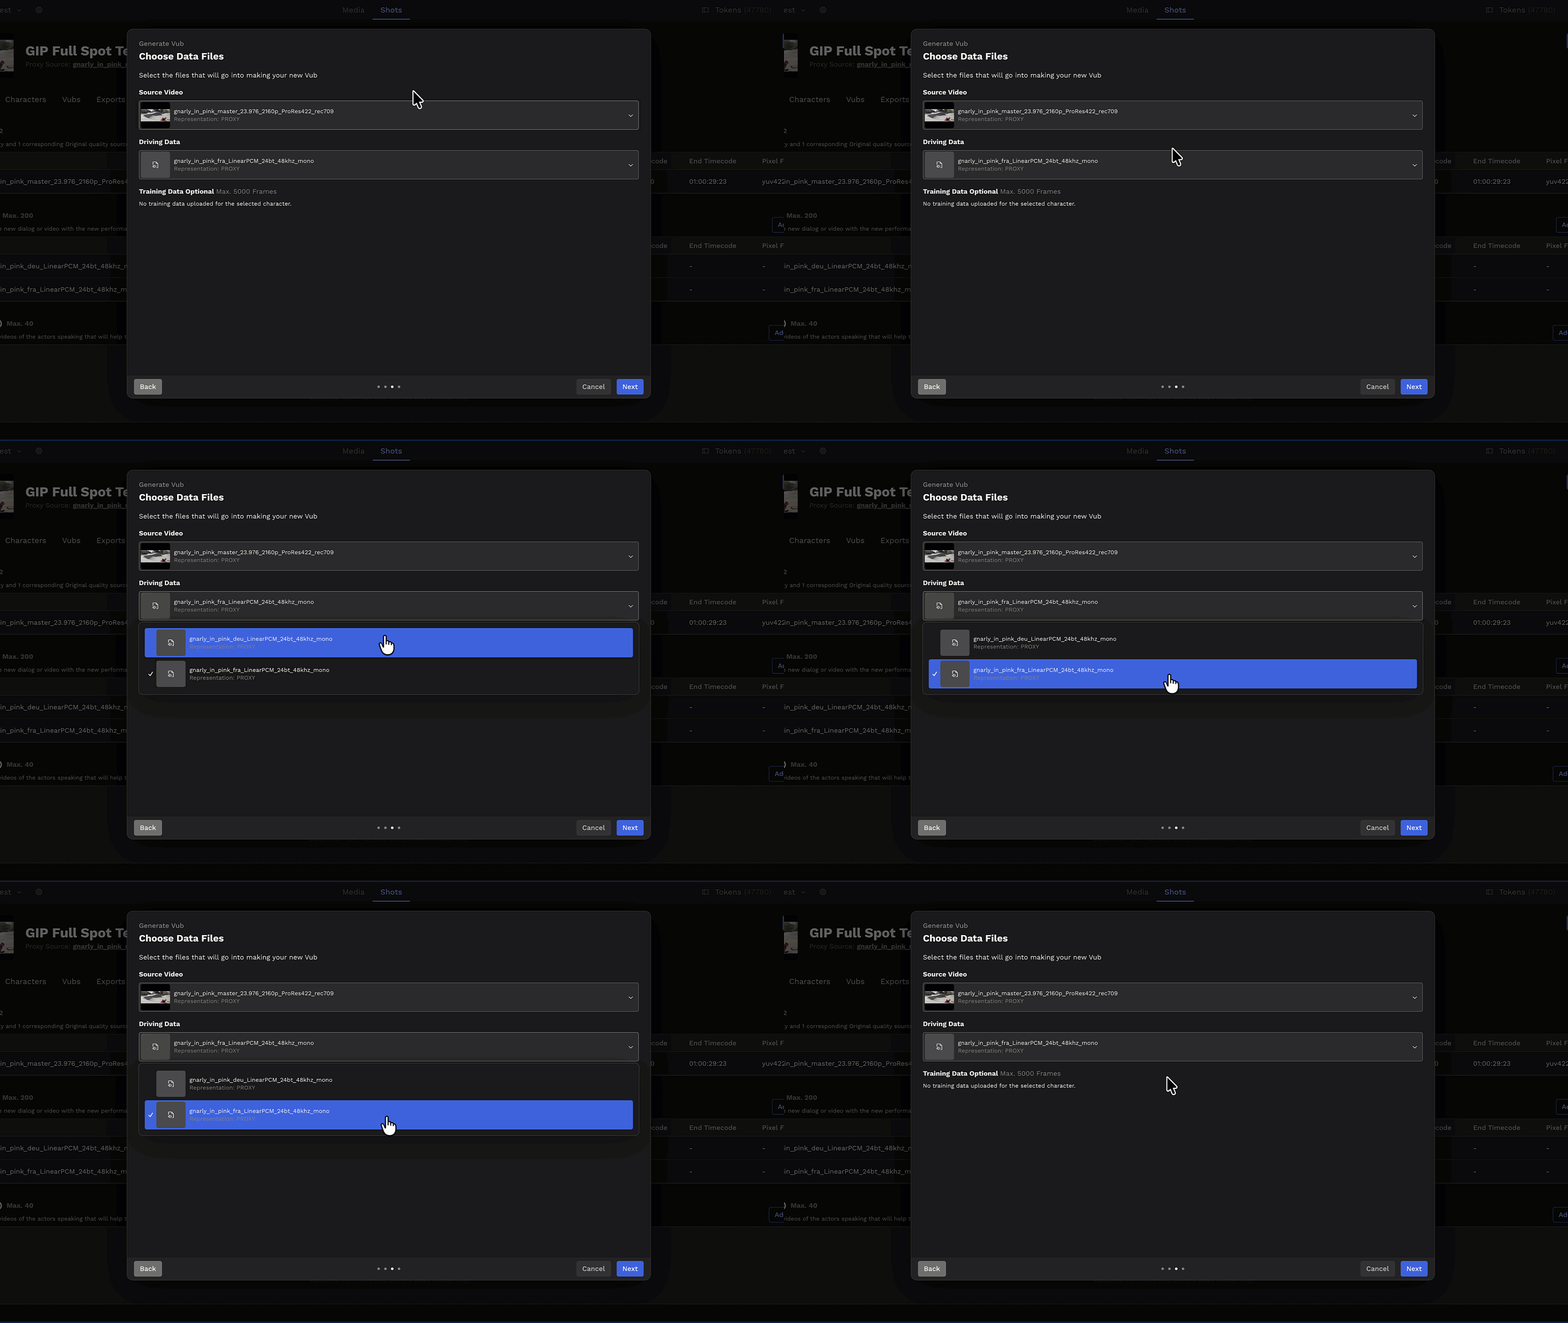
7. Click Next to check all details, then click Create to start the vub generation process.
Now that the vub is generating in the cloud, close the webpage if you wish.
Step 7 - Vub In Progress to Completed
In the Vubs tab, your newly created vub will be displayed with status "In Progress".
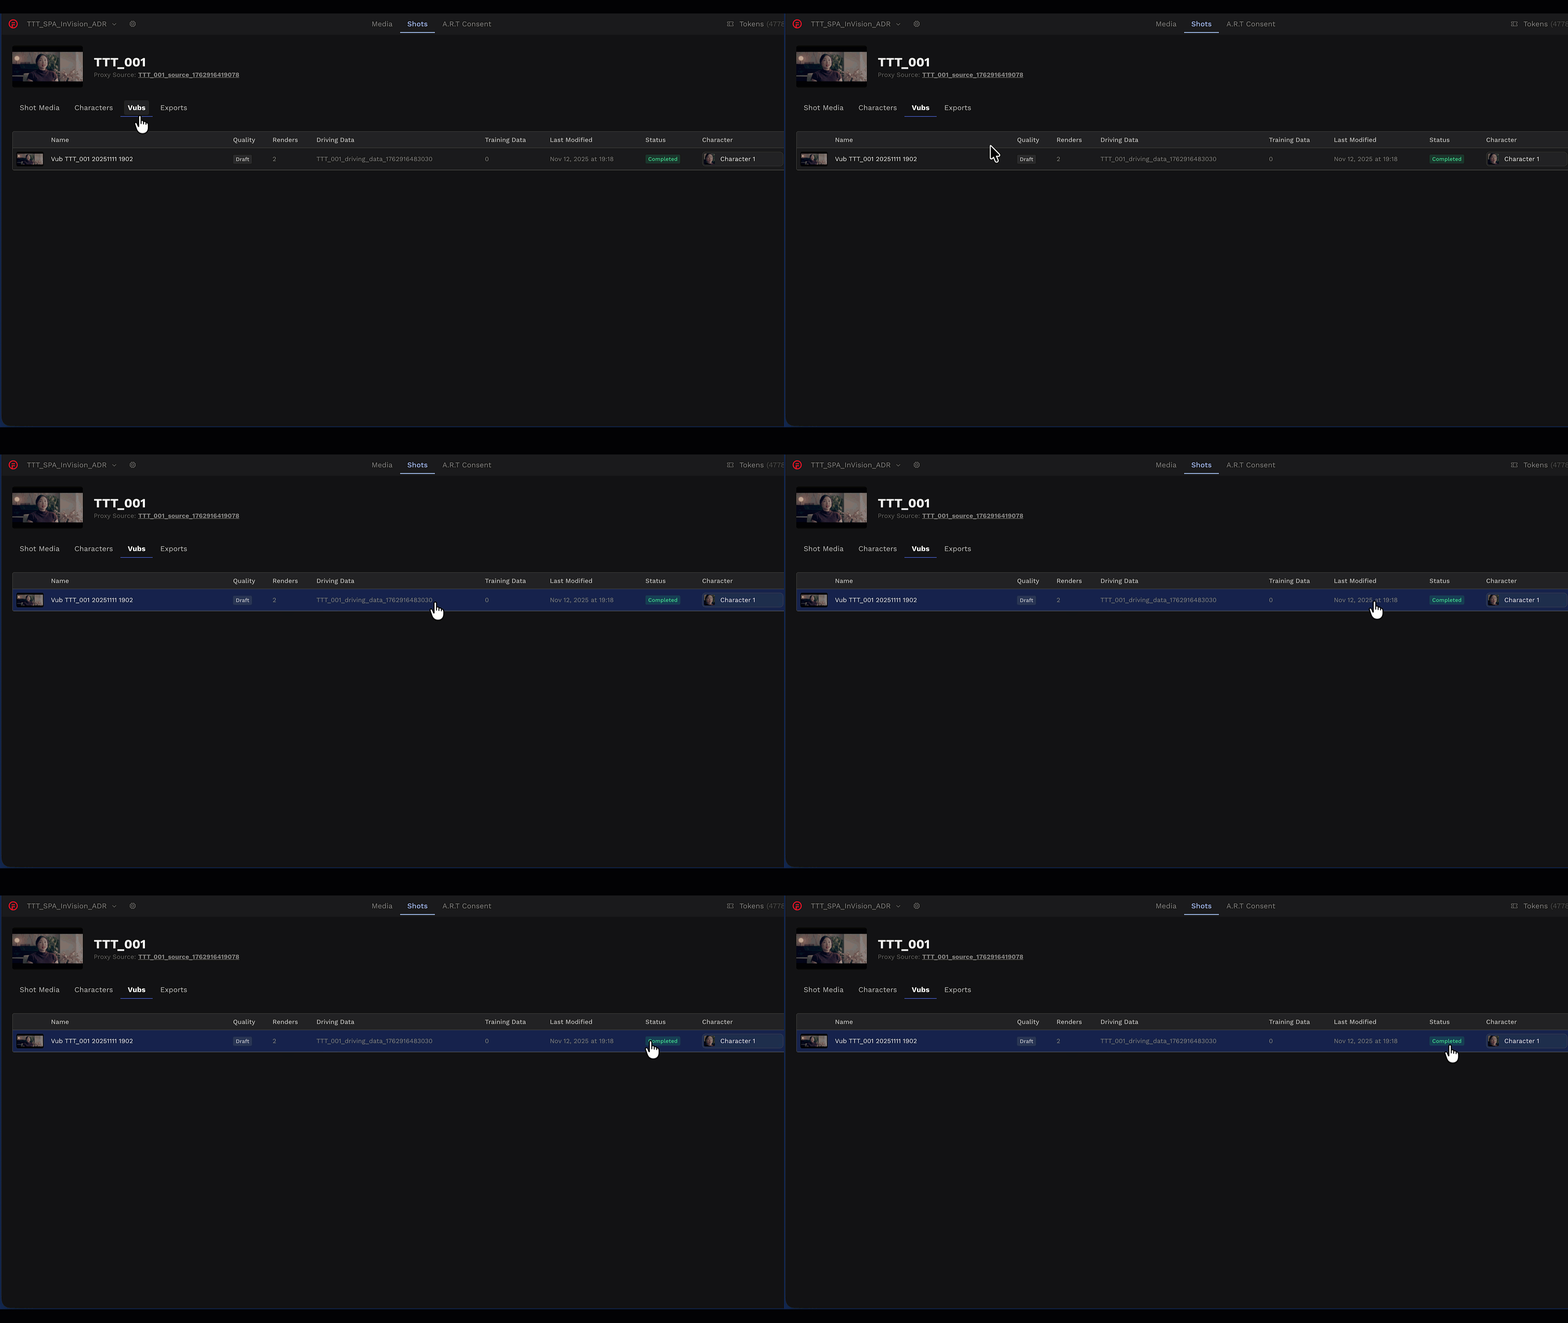
When your vub is ready, you will get an e-mail notification.

Note: Generating a vub can take between 1 and 11 hours, depending on the duration and resolution of your media and whether you have uploaded training data.
If you are concerned about how long it is taking for your vub to be generated, please contact us at support@flawless.app.
Here are the average times it currently takes to generate a vub based on the quality setting you select and whether you have uploaded training data:
|
Quality Level |
Average Time to Generate |
|
Draft |
1-2 hour |
|
Draft with Training |
4-11 hours |
|
Final |
2-4 hours |
|
Final with Training |
4-11 hours |
Clicking on a vub row will open a window on the right side of your screen that shows more information about your vub.

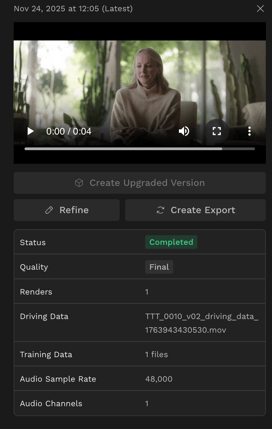
Note: What you see in the Preview and in the Refinement tool is not the full-quality resolution of your export, but a version optimized for web playback.
Consult our Lip Sync Refinement section for full details of how to refine a vub in DeepEditor.
Note: You can refine, render, and export vubs multiple times without being charged - you do not need to use up a token for these actions.
