Table of Contents
Shadows, Gamma, and Brightness
Jump to Frame
Reference Panel Windows Controls
Advanced Timeline Controls
Advanced Keyframe Controls
Shadows, Gamma, and Brightness
Above the main viewer, you will see slider and numerical controls for Shadows (0), Gamma (1) and Brightness (100).
![]()
These controls are meant to help the user refine particularly dark or hard-to-see faces. Any adjustments made will not be applied to the export.
Click and drag the slider button to adjust or change the numerical value.
Revert to the original view by clicking the undo button that appears by each number value.
![]()
“Go to Frame”
Click on the frame count display to open a pop-up menu. Enter a specific frame number, and your playhead will move to that frame.

Change Reference Panel Views
In the reference panel, there are 3 windows. You can mix and match your windows to your preference using this dropdown menu.


You may even want to hide some reference panel windows.
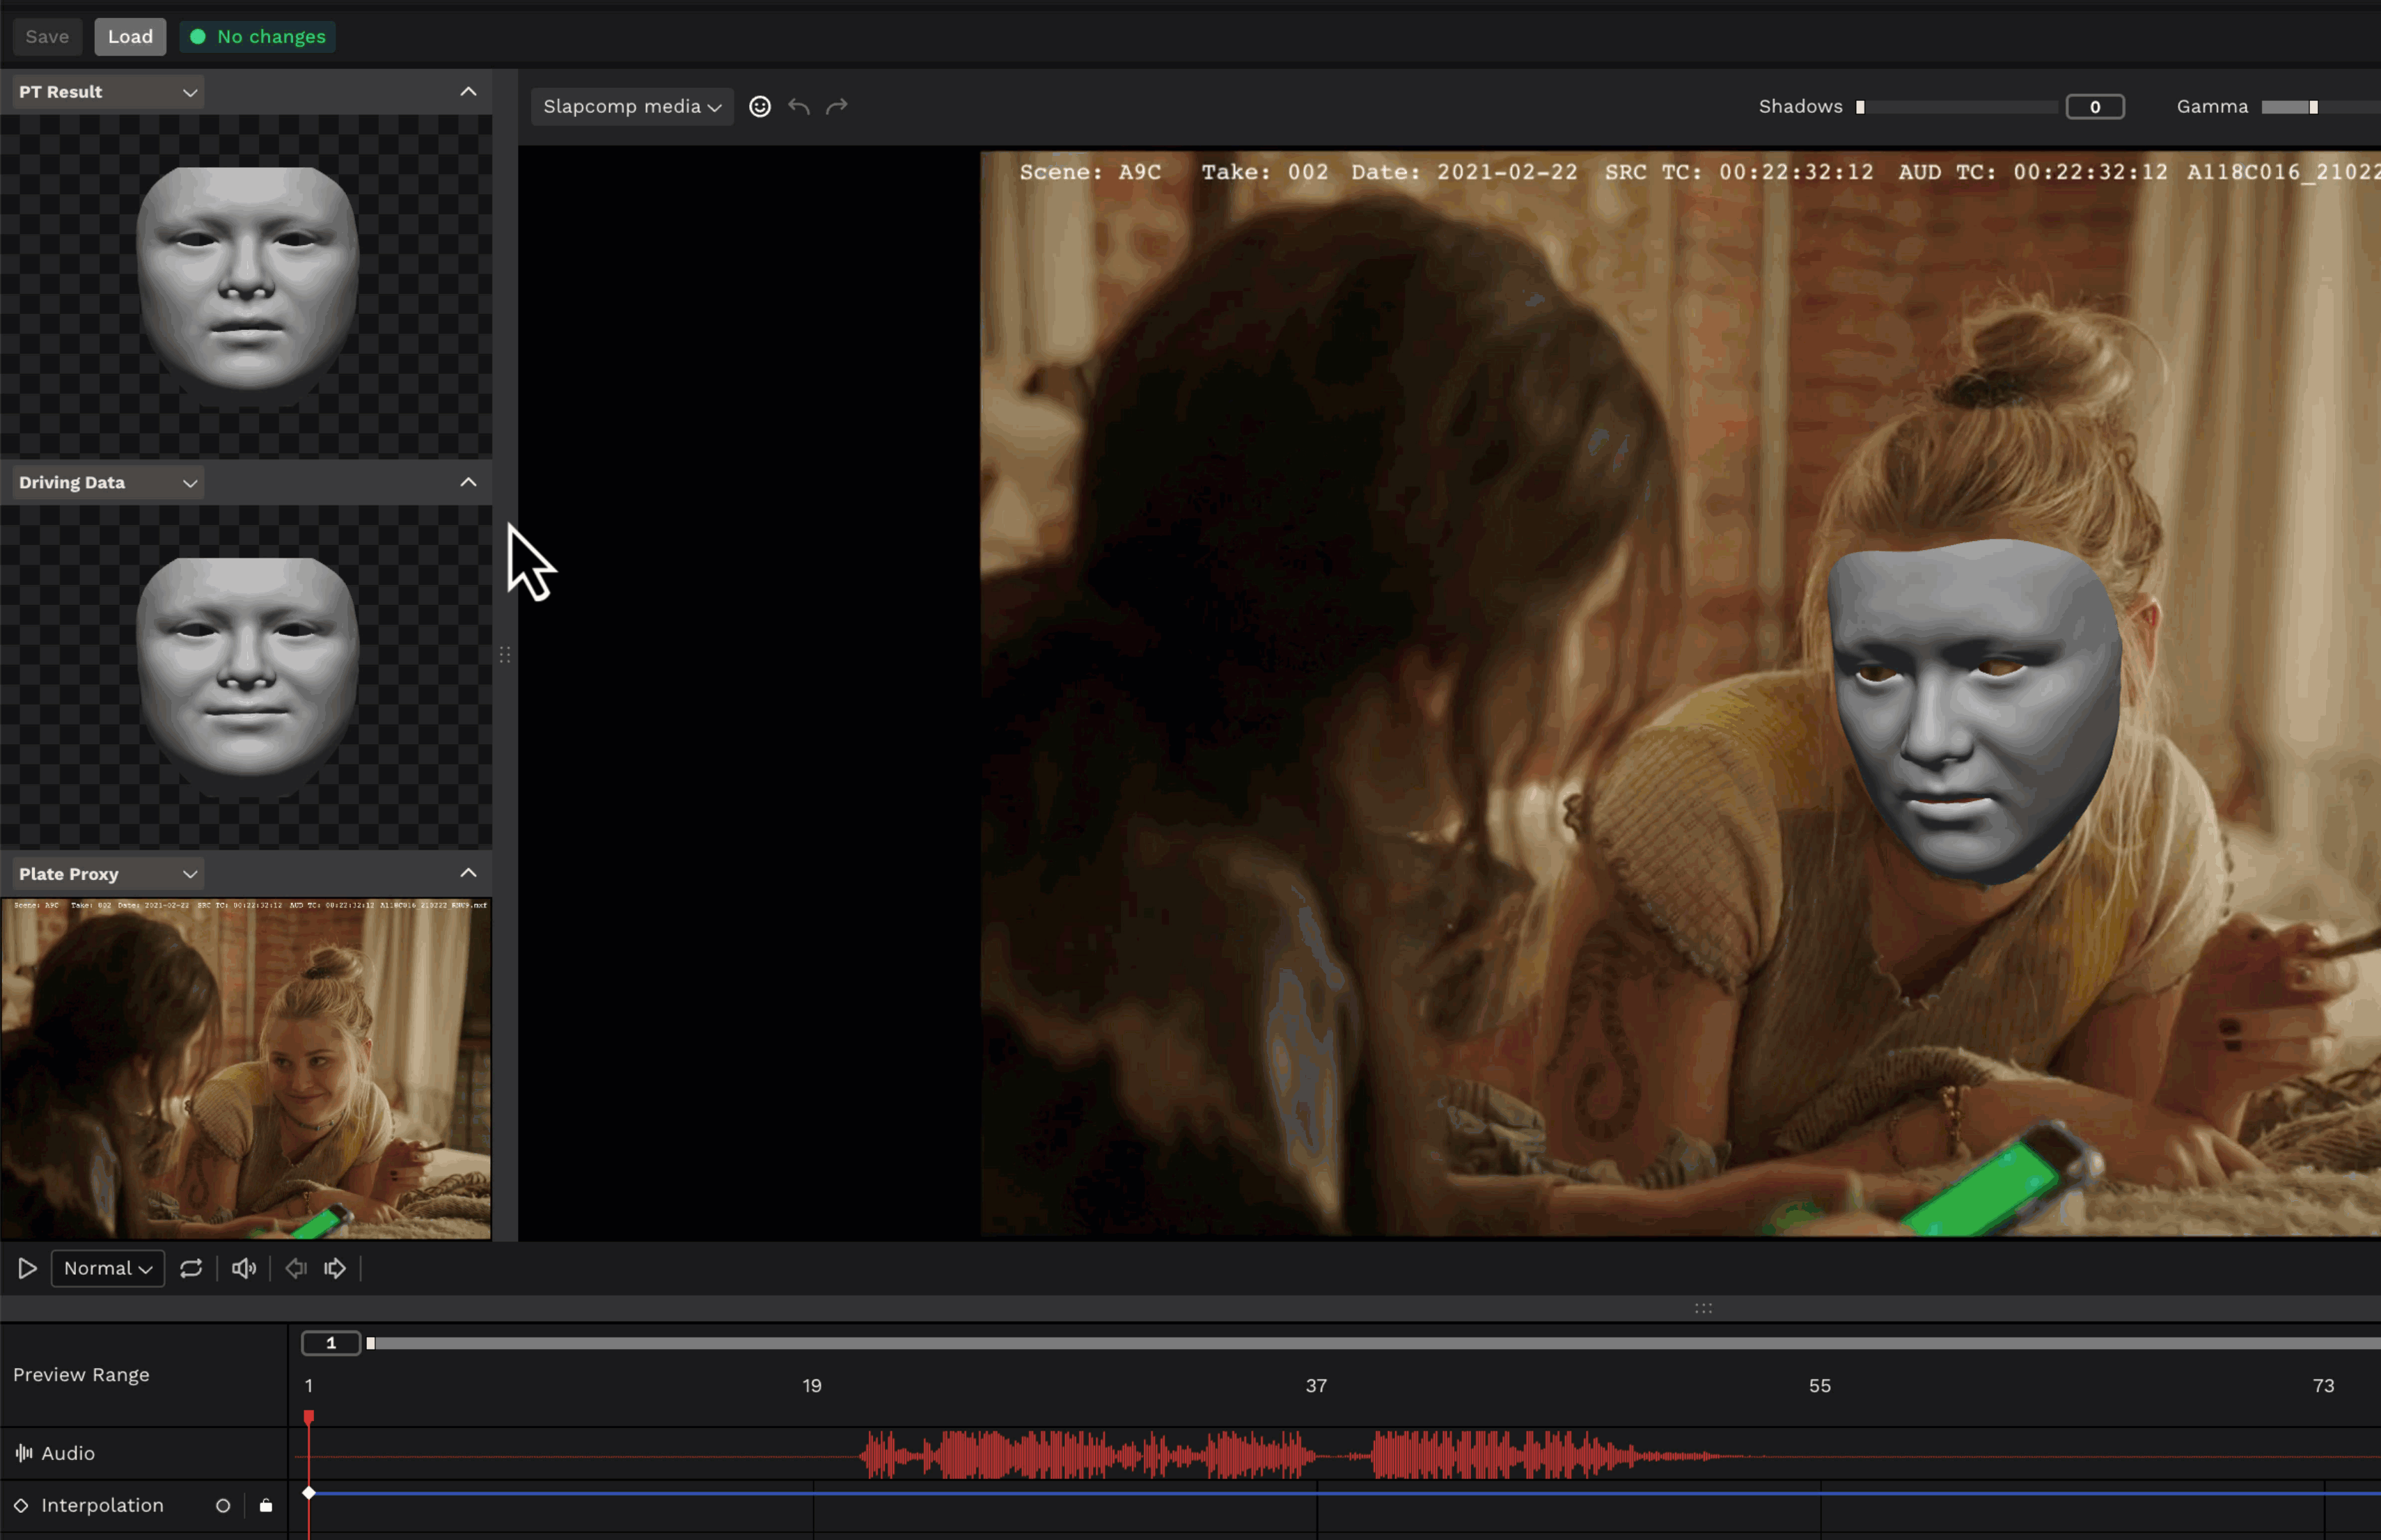
Below is an example of a popular window view.
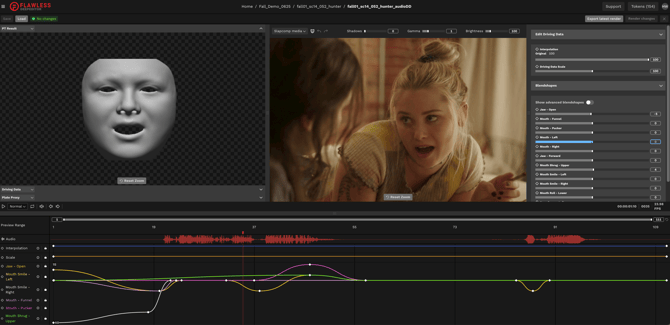
Advanced Timeline Controls
Lock Blendshapes in the Timeline
The lock icon below allows you to secure a specific blend shape or driving data element in the timeline. This is useful for making minor adjustments to one blend shape without inadvertently altering another.

Hide Blendshapes in the Timeline
Above you will see a circle icon. These allow the user to hide a blend shape or driving data element in the timeline.
This is particularly helpful if you want to concentrate on a single keyframe path. Rest assured, hidden keyframes cannot be modified.
Timeline Zoom
You can zoom in on a specific frame range on the timeline using two methods.
1. Click and drag either end of the zoom bar.
2. Type the desired number in the boxes at the ends.
Use the center scroll button of your mouse to click and drag the shortened timeline zoom bar.
Revert to the default display by clicking the arrow key.
![]()


Keyframe Buttons
When your playhead hovers over a keyframe in the timeline, these diamond icons become filled. They not only show the location of a keyframe but can also be used to create one.
Click the icon to generate a keyframe with a value of 0.


Show Advanced Blendshapes
